Last Updated on March 14, 2025 by Shannon
Making treats for your dog at home isn’t just fun; it’s healthier, too.
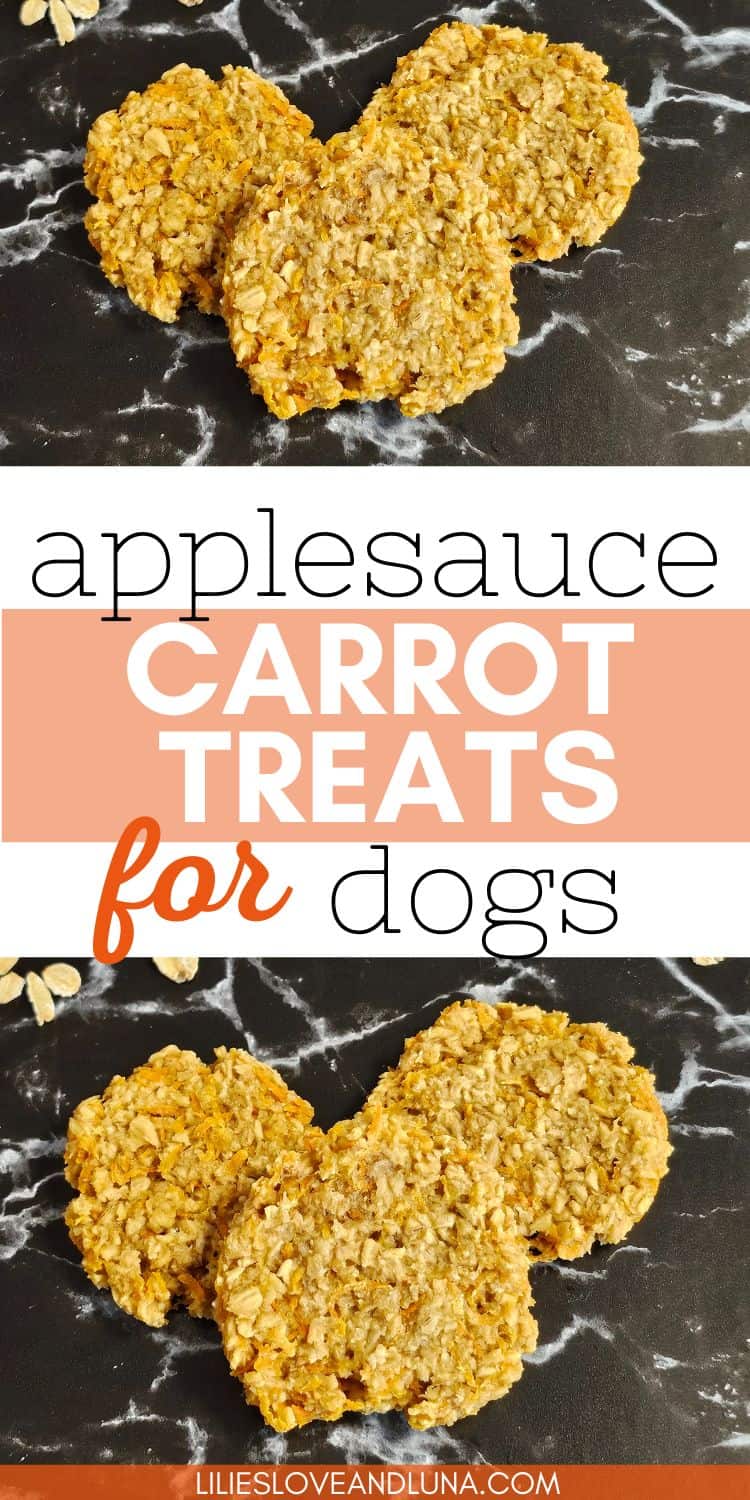
You can feel good about what your pup is eating with simple, wholesome ingredients like carrots and applesauce.
Carrots are packed with vitamins, while applesauce adds natural sweetness without harmful additives.
Baking your own treats lets you avoid unnecessary fillers in store-bought options.
Your dog deserves snacks made with love, and these homemade treats are a perfect way to spoil them.

This post may contain affiliate links. That means if you click on them and buy something, I may receive a small commission at no cost to you. Read my Disclaimer Policy to learn more.
Ingredients Needed for Carrot Oat Applesauce Treats

- 1 cup of unsweetened applesauce
- 1 cup of finely shredded carrots
- 2 cups old-fashioned oats
- 1/4 cup natural peanut butter
Necessary Tools for Baking
To make the process smooth, gather these tools before you start:
- Mixing bowl
- Measuring cups
- Mixing spoon or silicone spatula
- Parchment paper or silicone molds like these paw shaped molds
- Baking sheet
Having all your tools ready will save you time and help you avoid any last-minute scrambling.
Instructions

Preheat the oven to 350°F. If using silicone molds, place them on a cookie sheet.

If not using molds, place a piece of parchment paper on a baking sheet.

In a large bowl, combine the applesauce and peanut butter.

Mix well.

Add in the shredded carrots.

Mix well.

Place the oats in a food processor.

Process until finely ground.

Add the ground oats to the wet ingredients.

Mix well.

If using silicone molds, fill them to the brim with the dough. It will be thick; just use your fingers to press it into the mold.

For baking on a baking sheet, roll the dough into balls, then place them onto the prepared baking sheet.

Using a fork, spoon, or your fingers, press the balls flat to about ¼-inch thick. I had the best luck with a spoon or just my fingers.

Bake until the treats are firm and golden. This takes about 25 to 35 min for silicone molds (depending on the size mold and how thick it is) and 15-20 min for pressed flat on a cookie sheet.

Cool completely before giving to your dog.

Once cooled, give one to your dog, then store the rest in an air-tight container.
Storage and Shelf-Life Tips
Proper storage keeps your homemade treats fresh and safe for your dog to enjoy. Here’s how to store them:
- Store in an airtight container at room temperature for up to 3 days.
- For longer storage, place them in the fridge for up to 1 week.
- If you made a large batch, freeze the extra treats in a freezer-safe bag or container. They’ll last up to 3 months. Simply thaw them at room temperature before serving.
Keeping the treats dry and sealed is essential to prevent spoilage.
Always check for any signs of mold or odd smells before giving them to your dog.
How Often Can I Give These Treats?
Homemade treats are healthier than processed ones, but they’re still a snack, not a meal replacement.
Portion sizes and frequency depend on your dog’s size, age, and activity level.
A quick rule of thumb is that treats should make up no more than 10% of your dog’s daily calories.
For any diet related questions, check with your vet.
It’s always best to ask your vet before giving your dog any new foods.
Final Thoughts
Carrot applesauce homemade dog treats are the perfect way to combine health and happiness for your dog.
They’re simple to make, packed with wholesome ingredients, and free of unnecessary fillers or additives.
By trying this recipe, you’re giving your dog a snack that’s not just tasty but also supports their well-being.
Plus, there’s something special about baking for your dog and seeing their excitement when you offer them a homemade treat.
Your dog deserves the best; grab your ingredients and start baking today!

Baked Carrot Applesauce Dog Treats

Easy to make baked carrot and applesauce dog treats.
Ingredients
- 1 cup of unsweetened applesauce
- 1 cup of finely shredded carrots
- 2 cups old-fashioned oats
- 1/4 cup natural peanut butter
Instructions
- Preheat the oven to 350°F. If using silicone molds, place them on a cookie sheet; otherwise, place a piece of parchment paper on a baking sheet.
- In a large bowl, combine the applesauce and peanut butter. Mix well.
- Add in the shredded carrots. Mix well.
- Place the oats in a food processor. Process until finely ground.
- Add the ground oats to the wet ingredients. Mix well.
- If using silicone molds, fill them to the brim with the dough. It will be thick; just use your fingers to press it into the mold.
- For baking on a baking sheet, roll the dough into balls, then place them onto the prepared baking sheet.
- Using a fork, spoon, or your fingers, press the balls flat to about ¼-inch thick. I had the best luck with a spoon or just my fingers.
- Bake until the treats are firm and golden. This takes about 25 to 35 min for silicone molds (depending on the size mold and how thick it is) and 15-20 min for pressed flat on a cookie sheet.
- Cool completely before giving to your dog.
- Store the rest in an air-tight container in the fridge for a longer shelf life.